Uploading a File
This guide walks you through the process of uploading a file (audio, video, or image) to the Chisquares platform. Only one media file is allowed per entry.
Step 1: Access the File Upload Option
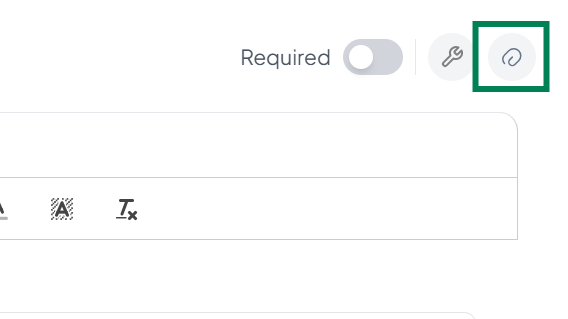
- Navigate to the section where a media file is to be attached.
- Locate and click the paperclip icon.
Step 2: Open the Upload File Dialog
-
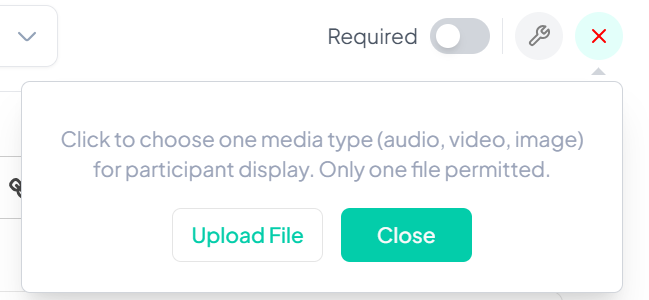
A modal will appear stating:
“Click to choose one media type (audio, video, image) for participant display. Only one file permitted.”
-
Click the "Upload File" button to continue.
Step 3: Select Your Upload Source
You will now see the Upload File interface with three tabs:
- Recent Files
- My Storage
- Upload
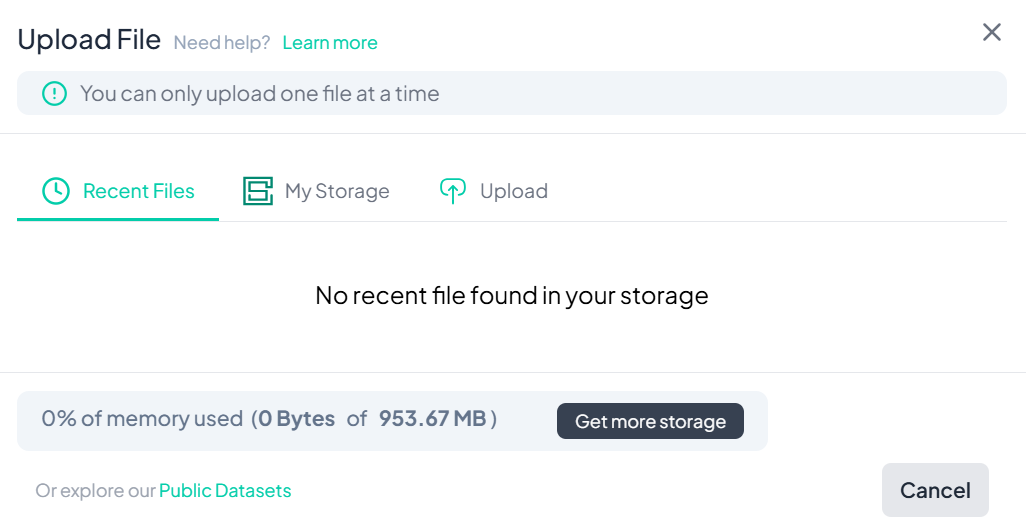
💡 Since no files are currently stored, you’ll need to upload from your device or cloud storage.
-
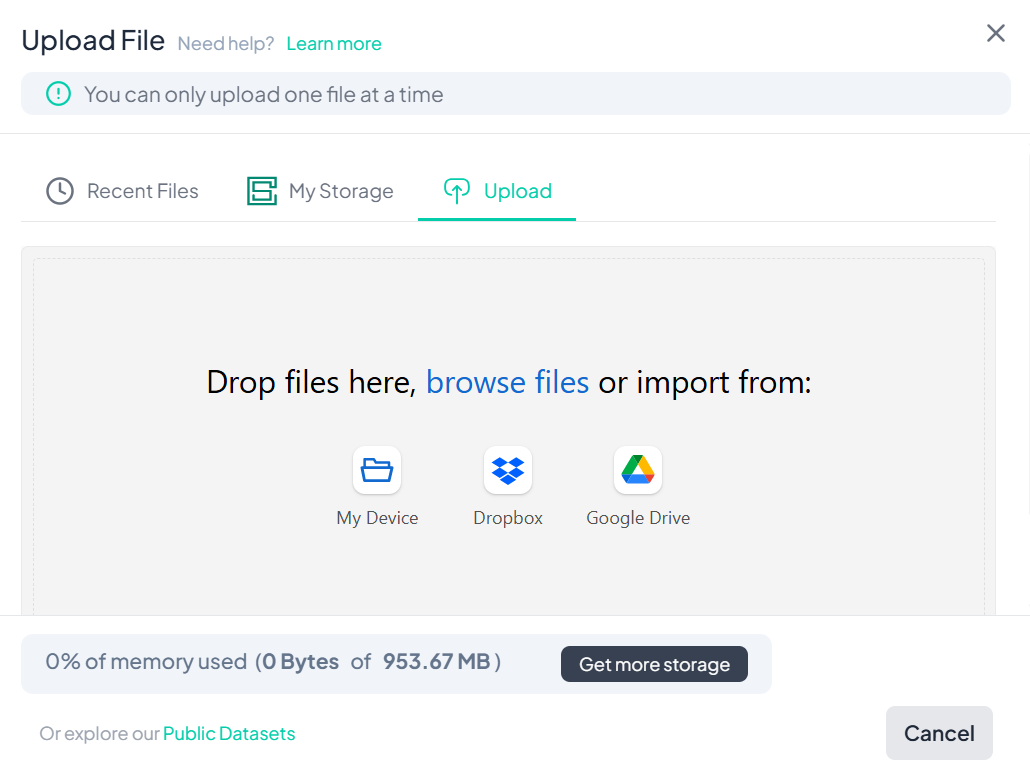
Click the Upload tab.
-
You’ll see options to:
- Drag and drop a file
- Browse files from your device
- Import from Dropbox or Google Drive
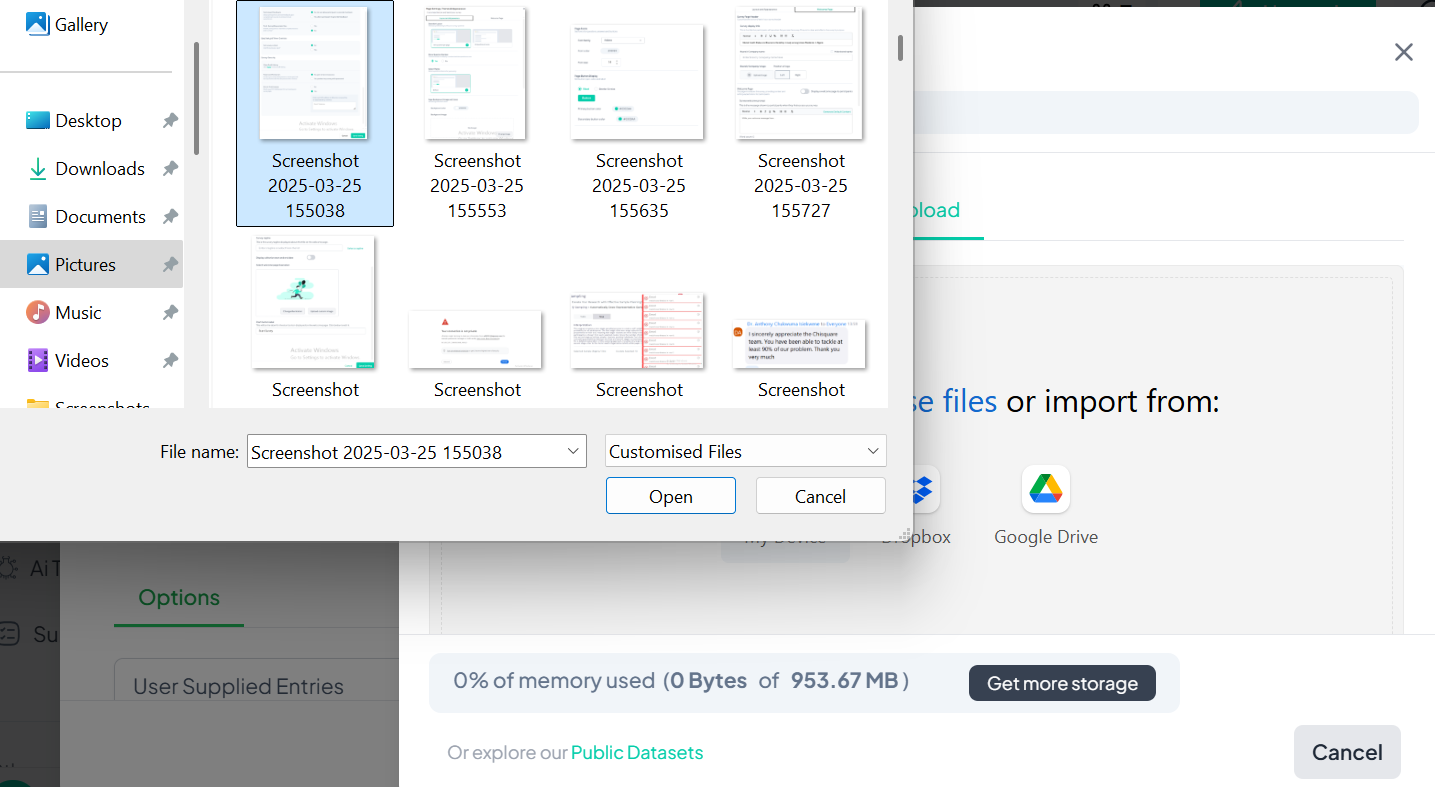
Step 4: Upload Your File
- Click “browse files” or the My Device icon.
- A file explorer window will open.
- Navigate to and select the desired file.
- Click “Open” to upload.
Step 5: Confirmation
Once uploaded:
- The file will appear under the upload area.
- You can remove or replace the file before saving or continuing.
Additional Notes
- Supported file types: Audio, Video, Image
- Maximum storage usage is indicated at the bottom of the upload modal.
- Explore Public Datasets if you want to use pre-existing content.
